In the following guide I will show you two methods of making screenshot in MacOS. In the last part I’ll show you how to change the default screenshots save location.
Taking screenshot using keyboard shortcut
To take screenshot on MacOS just press ⌘ + ⇧ + 3. By default the taken screenshot has been saved on Desktop. In the last part of the guide I will show you how to change the default screenshot save location.
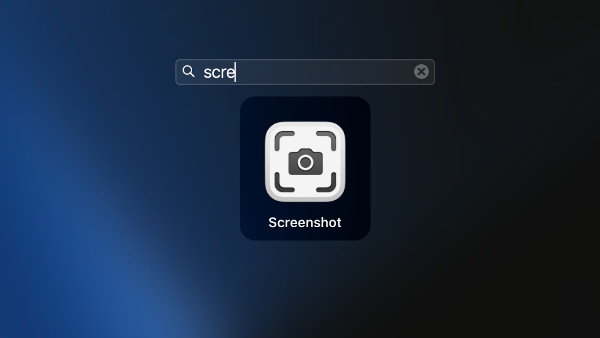
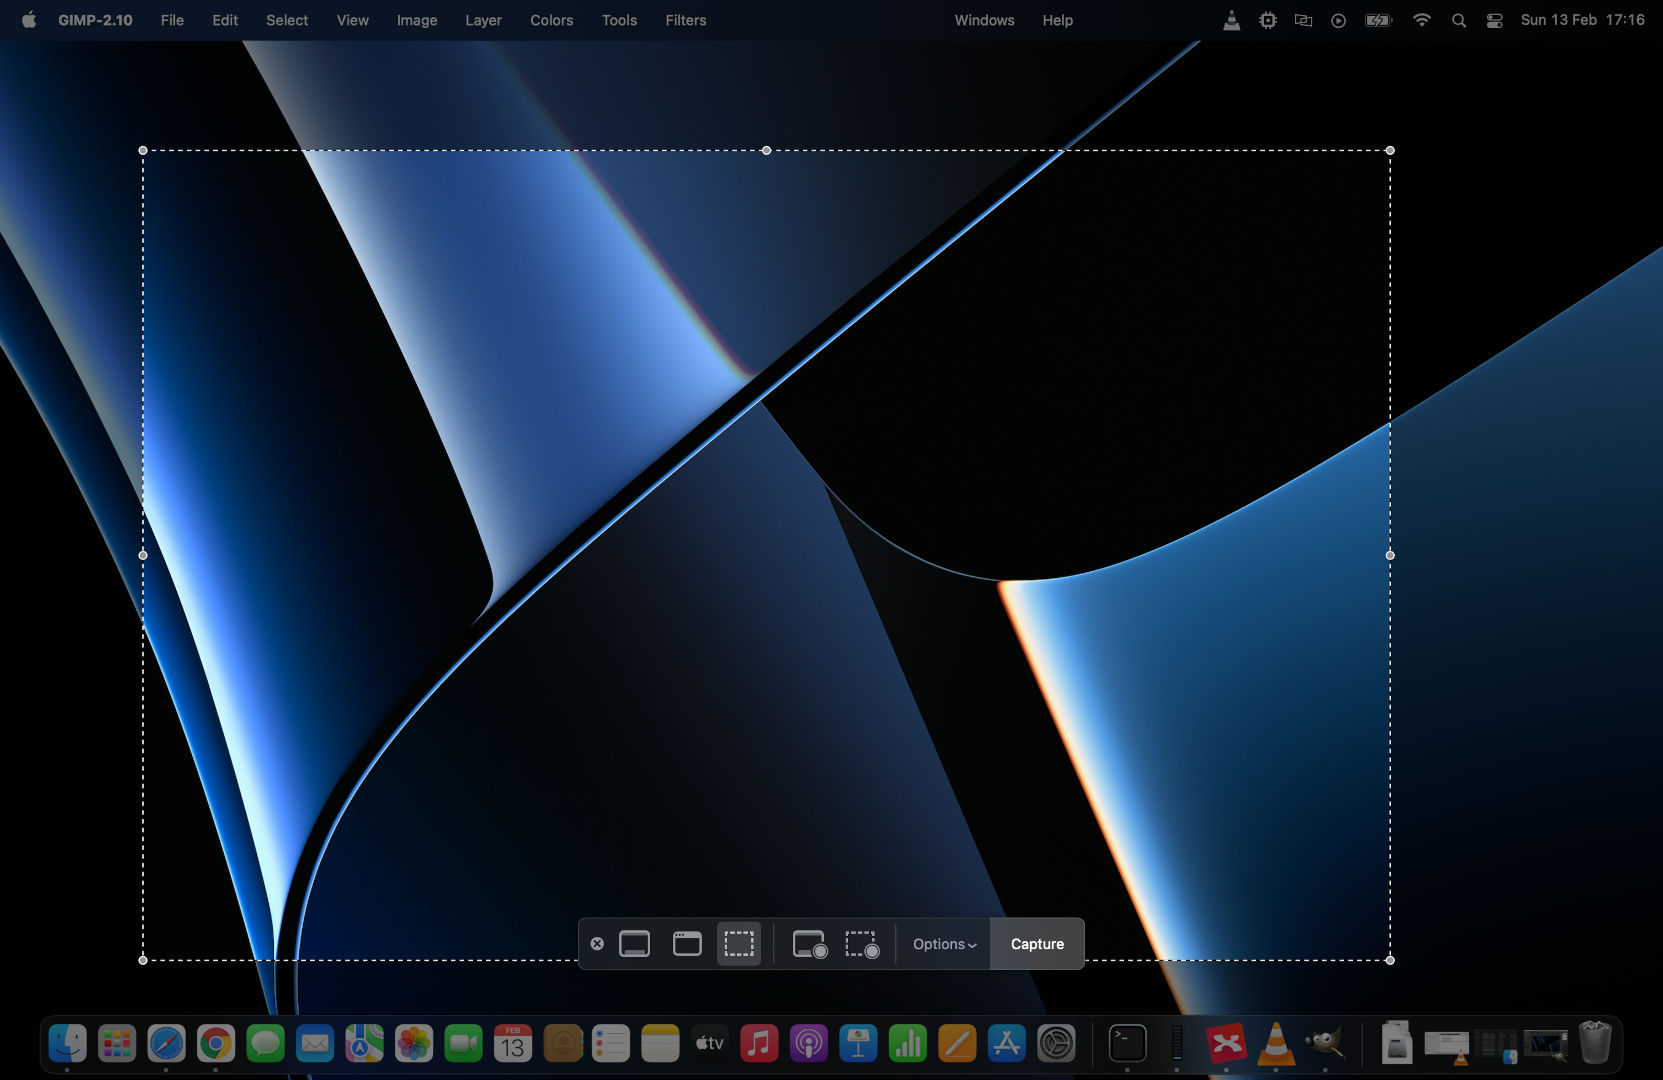
Taking screenshot using screenshot app
To take screenshot just run screenshot application and click capture.
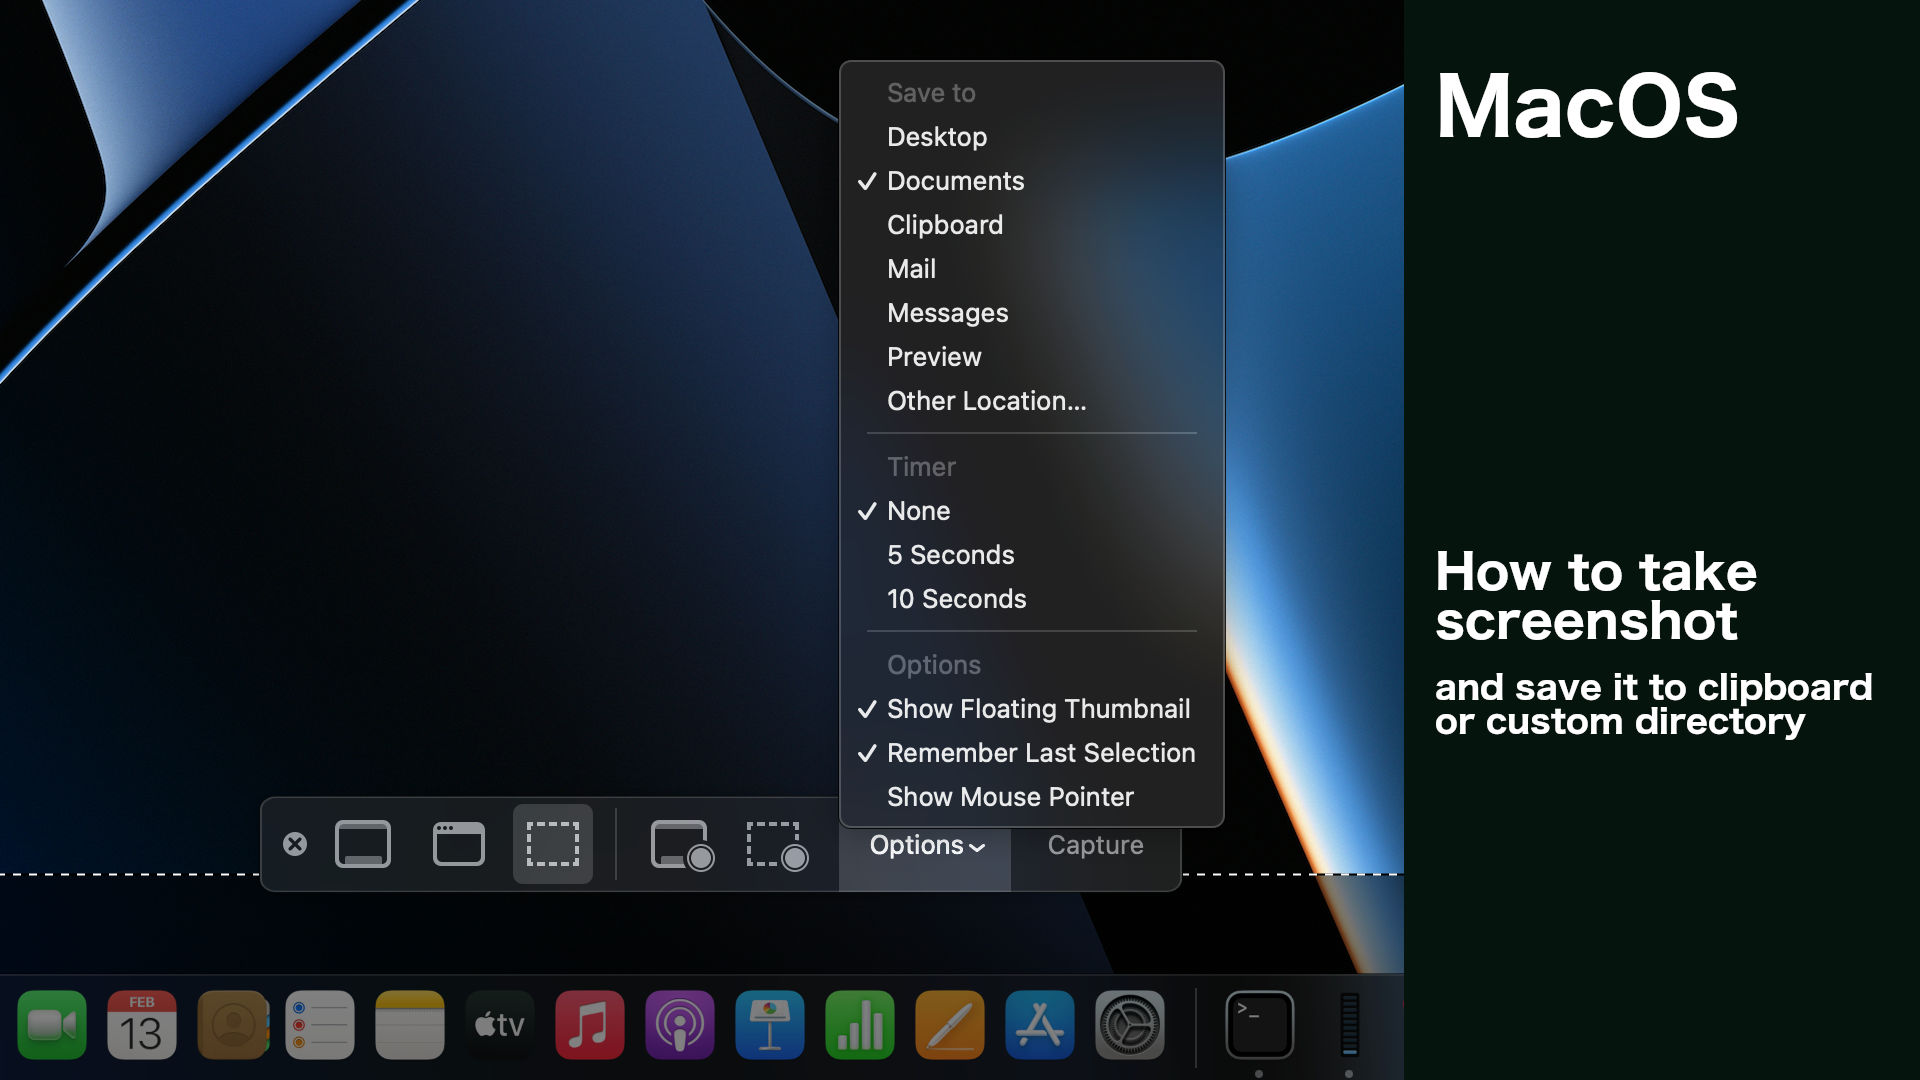
Change screenshot destination to clipboard or custom directory
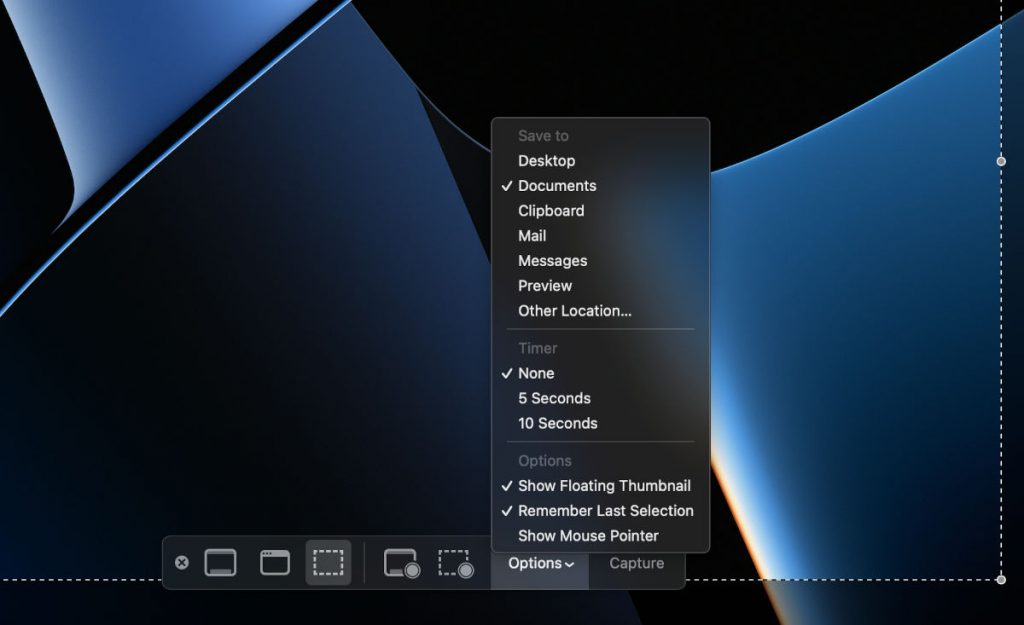
By default screenshots in MacOS are saved to Desktop directory. You can change the destination to clipboard (as it is in Windows) or to custom directory. To change mentioned settings just open screenshot app and roll out Options menu and select preferred option.
That’s all what I’ve prepared for you in this tutorial, if I helped you, please consider sharing this post to help me gain a wider audience.
Thanks and I hope to see you in my next tutorial.