In this article, I will show you how you can scroll the texture on the Image object in Unity. This effect can be used, for example, to simulate a moving background or the parallax effect.
Resources
Ready to use project you can find in my GitLab. If you prefer video you can find the tutorial on my YouTube channel.
Prepare the scene
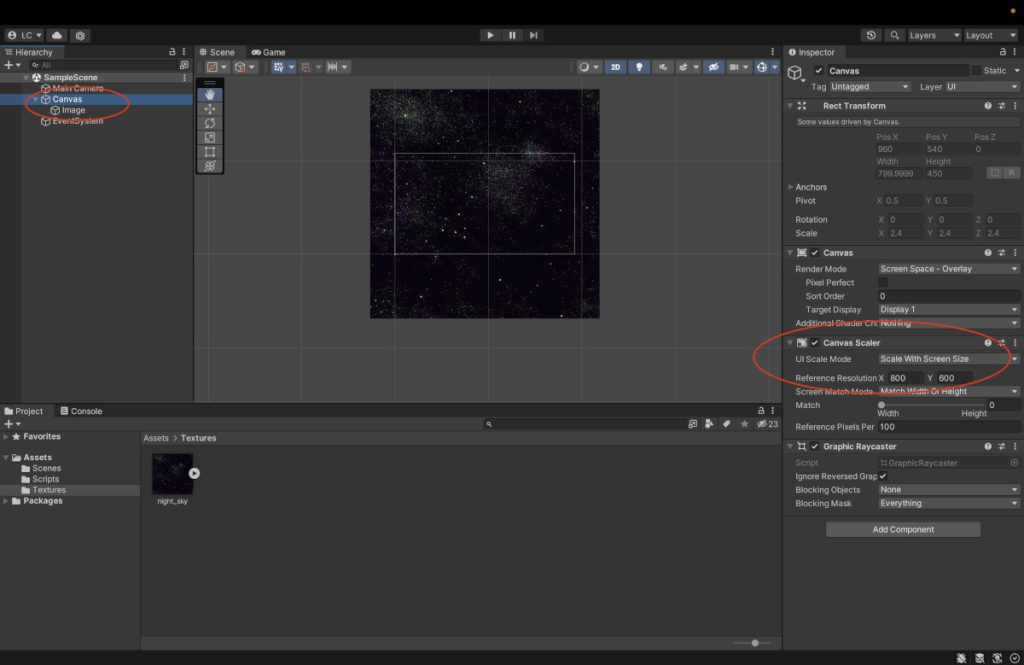
Let’s start with preparing some nice texture that we want to scroll on sprite. In my case it is a night sky image with a size of 2048x2048px. After copying the texture to the Assets folder, it’s time to prepare the Canvas and Image objects. On Canvas Object I selected UI scale mode = Scale with screen size option and the resolution of 800x600px.
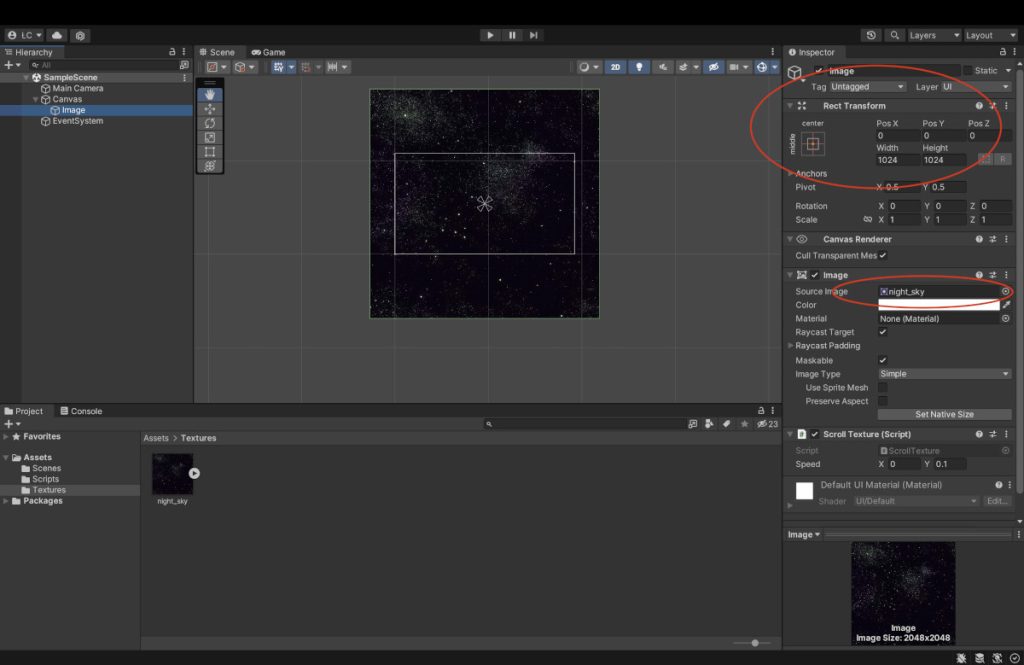
Then I adjust the Image to cover the entire visible area by centering the Image and setting the size to 1024x1024px. I assign the prepared texture of the night sky to the Image object.
Writing ScrollingTexture MonoBehaviour
Now that we have a prepared test scene, it’s time to go trough to the implementation of the script responsible for scrolling the texture. Below I have presented one of its variants. I suggest that you read it before we dive into its detailed description, because there is a little hitch lurking there that is not obvious. I would like to add that apart from copying the script, the texture parameters must also be adjusted, which will be described in the next section.
using UnityEngine;
using UnityEngine.UI;

[RequireComponent(typeof(Image))]
public class ScrollTexture : MonoBehaviour
{
    private Image _image;
    [SerializeField] private Vector2 speed;

    void Start()
    {
        _image = GetComponent<Image>();
        _image.material = new Material(_image.material); //Clone the original material
    }

    void Update()
    {
        _image.material.mainTextureOffset += speed * Time.deltaTime;
    }
}
We start the script analysis with the parameters displayed to the editor. In our case it is speed, which is a 2D vector and denotes the speed of scrolling in one second. The value of 1 means that the entire texture is scrolled in one second.
Let’s jump to the Update method for a moment. This is the heart of the script, and in it a fairly simple operation that updates the offset of the main texture by the product of speed and time – that is, the distance.
However, the most important part, is what happens in the Awake method, i.e. cloning the material assigned to our Image. Sprite 2D textures share one material instance. So if we update, for example, the mainTextureOffset property (as in our case), the effect of scrolling the texture will be applied to all Sprites that use it. In order for the texture scrolling effect to apply only to the object with the ScrollTexture component, it is necessary to create a copy of the material and assign it to the object. And this is what happens in the Awake method.
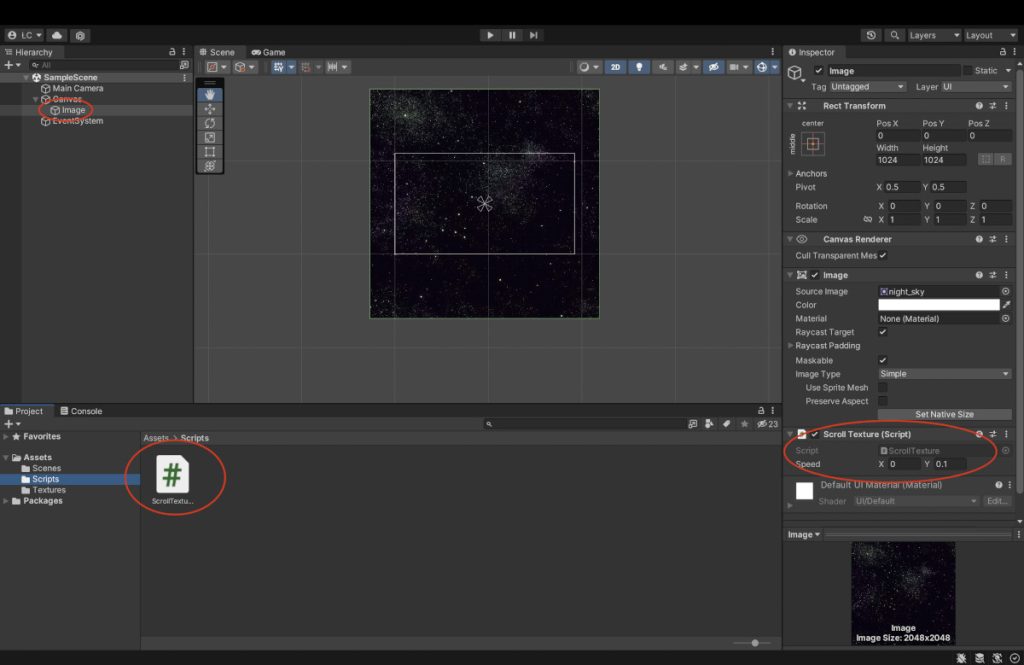
Adding ScrollTexture script to the scene
We add the script like any other component – by dragging it onto the selected GameObject. Set the value of speed property to some low value – let’s say – 0.1 texture per second.
Texture adjusting
If you have already run the simulation at this stage, you have probably noticed that the texture, after scrolling to the end, stretches the last pixels – drawing specific lines – instead of repeating itself.
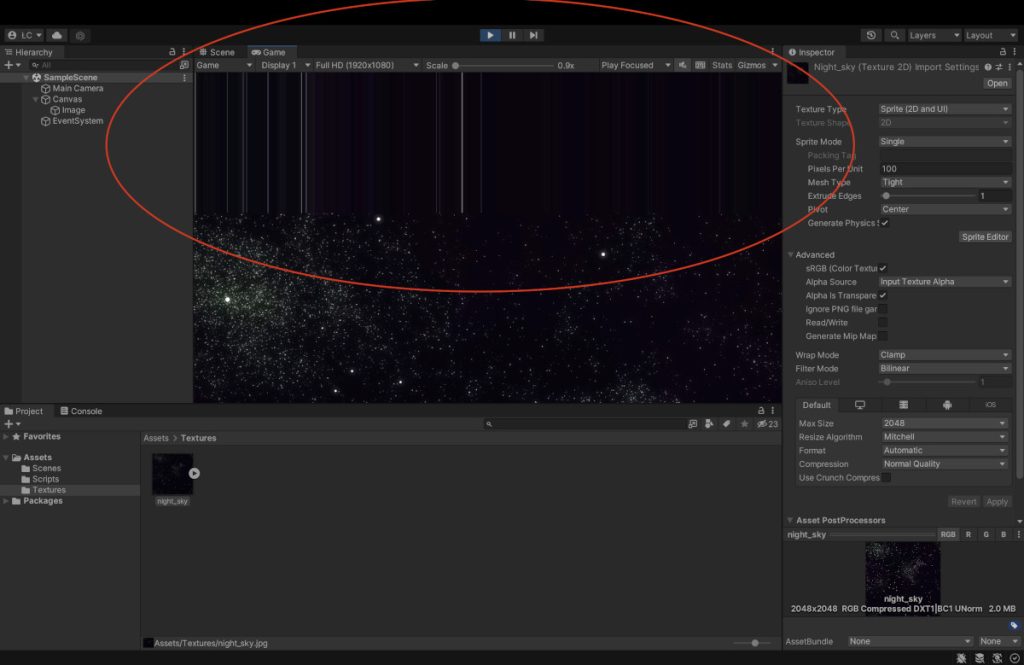
This specific effect is due to the default setting of the Wrap Mode = Clamp property on the texture. To achieve the repeating effect just change the Wrap Mode = Repeat on the texture of the sky. After sunning the simulation you should see nice texture scrolling effect.

That’s all what I’ve prepared for you in this tutorial, if I helped you, please consider sharing this post to help me gain a wider audience.
Thanks and I hope to see you in my next tutorial.