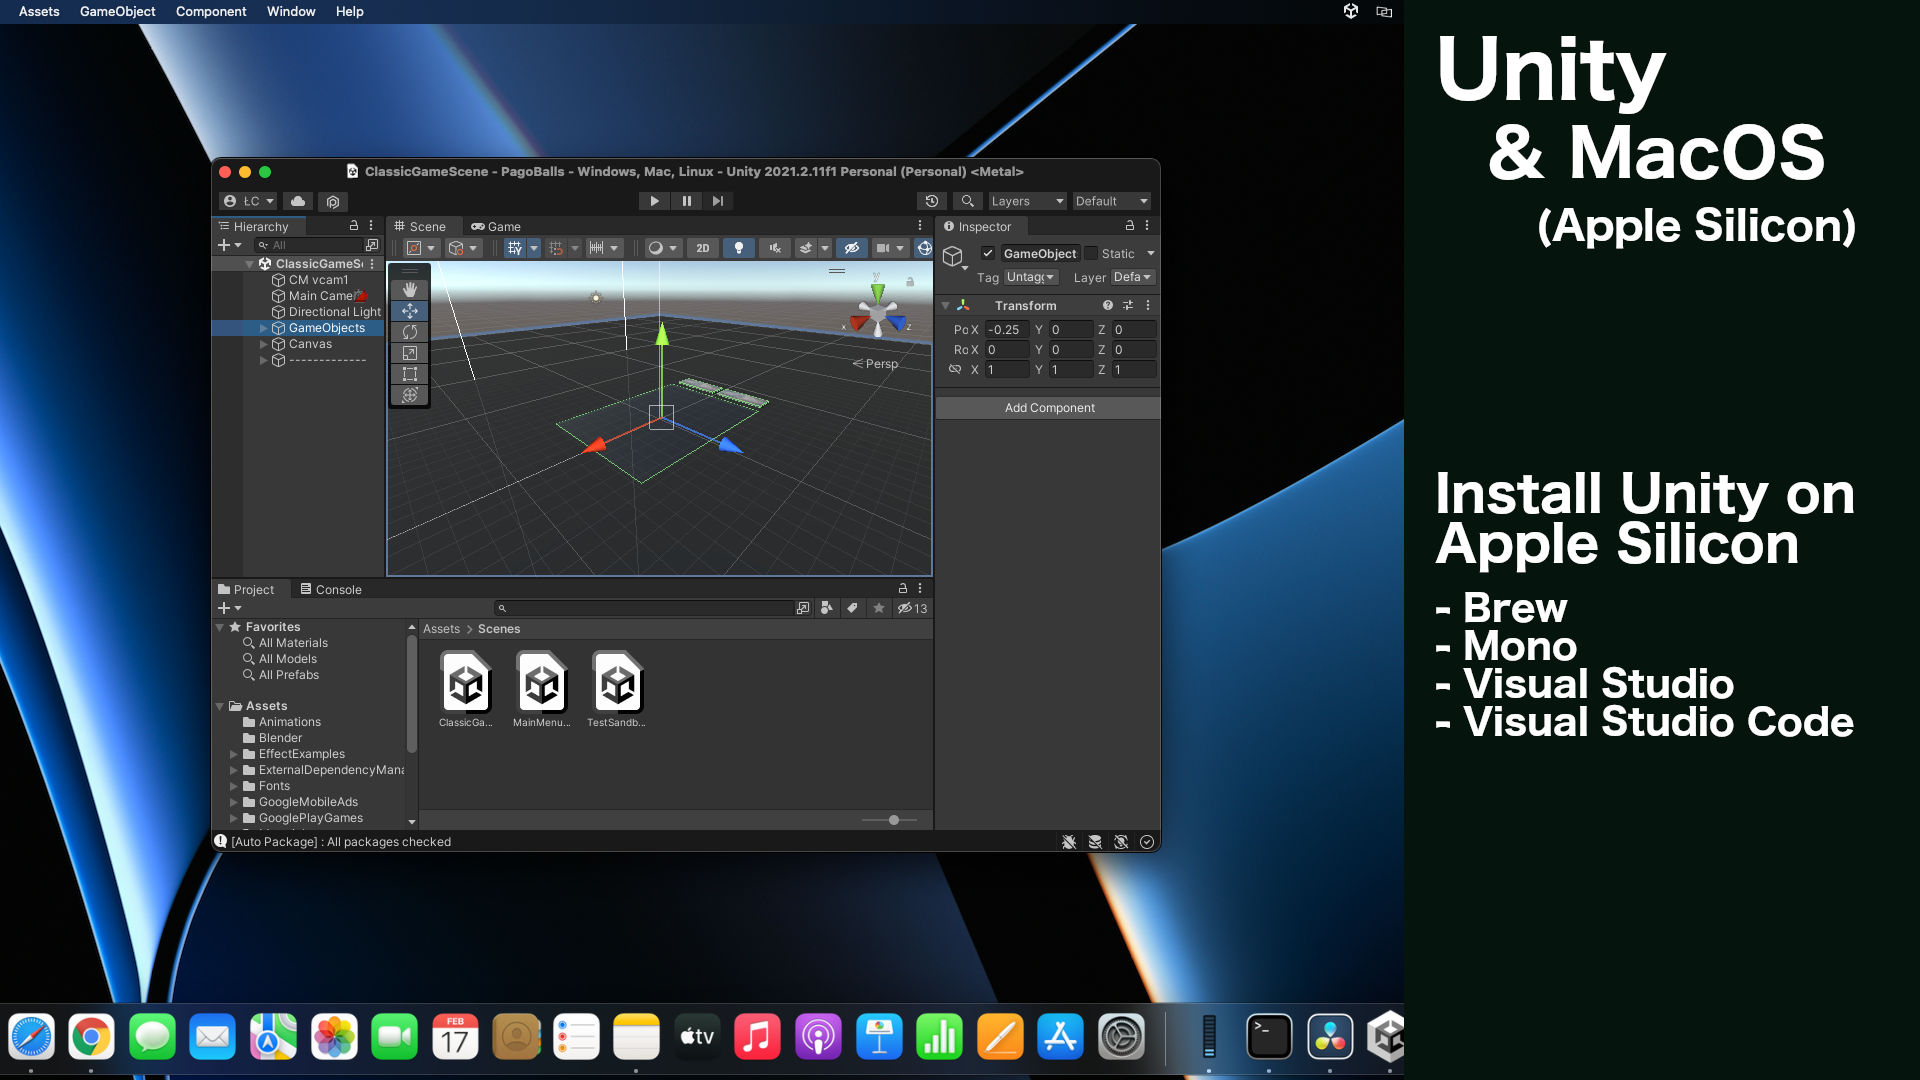
In the following article you can find all you need to properly install Unity on new MacBook Pro with Apple Silicon on the bard. The guide works for older MacBooks as well.
Installing brew – Missing package manager for MacOS
Brew allows you to install software from command line. To install brew just follow the instructions on the official website.
All in one script: Unity Hub
Download Unity Hub from the official website and install it. At the moment only 64 bit version of Unity Hub is available to download so it requires rosetta installed on your MacOS. In case you don’t have rosetta installed on your mac the installation popup appears. You can also install Unity Hub using brew
brew install --cask unity-hub
Installing Unity for Apple Silicon M1 processor
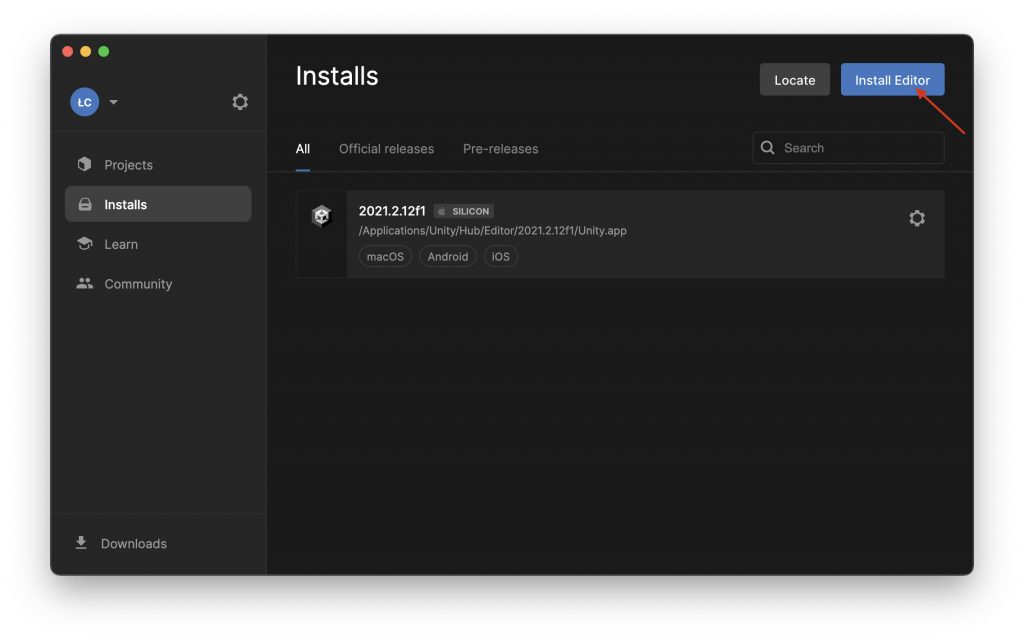
Run Unity Hub and go to Installs tab on the left hand side. Then click Install Editor and from the popup window install preferred Unity version.
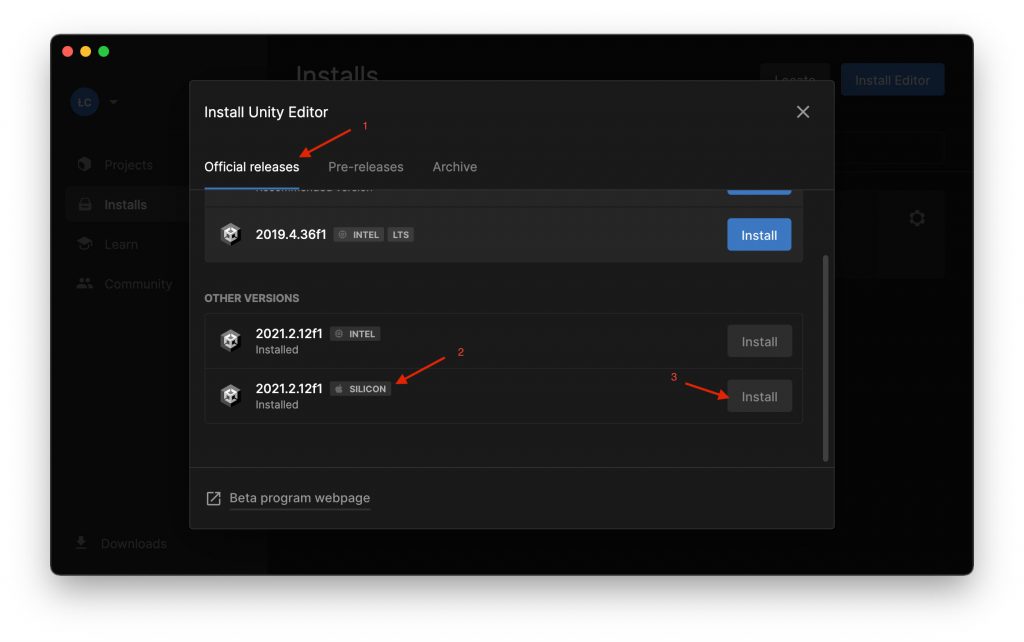
Please note what architecture type of Unity editor you are installing. For example for new Macbook Pro with M1 or M2 processors you should install install Unity for SILICON architecture.
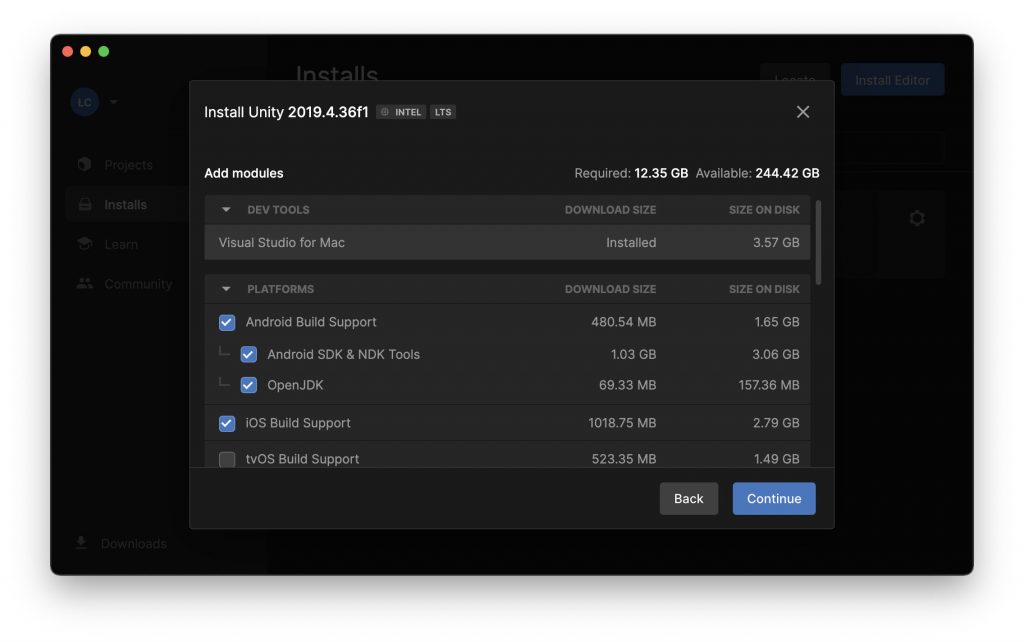
The last step is to select additional tools you want to install Unity with. For example In you want to create games for Android you should install Android Build Support. Don’t worry – If you don’t install it now, you can do it later.
Installing mono on Apple Silicon M1
Mono is a cross platform .NET framework required by Unity to compile and run C# scripts. The easiest way to install monoo-mdk is using the following brew command:
brew install --cask mono-mdk
Installing Visual Studio Code for Apple Silicon
If you want to use Visual Studio Code instead of Visual Studio delivered by default by Unity, you can install the alternative IDE by the following command:
brew install --cask visual-studio-code
C# add-on for Visual Studio Code
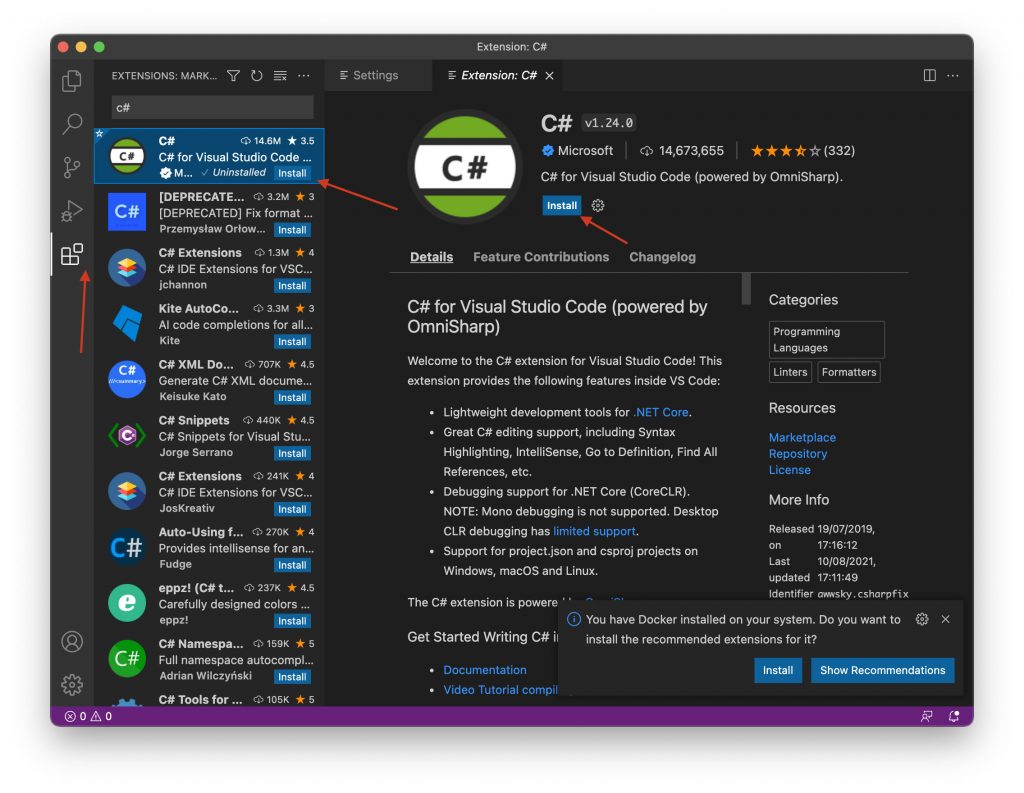
There are three more steps required to make Visual Studio Code works with unity. The first one in to install C# add-on to Visual Studio Code.
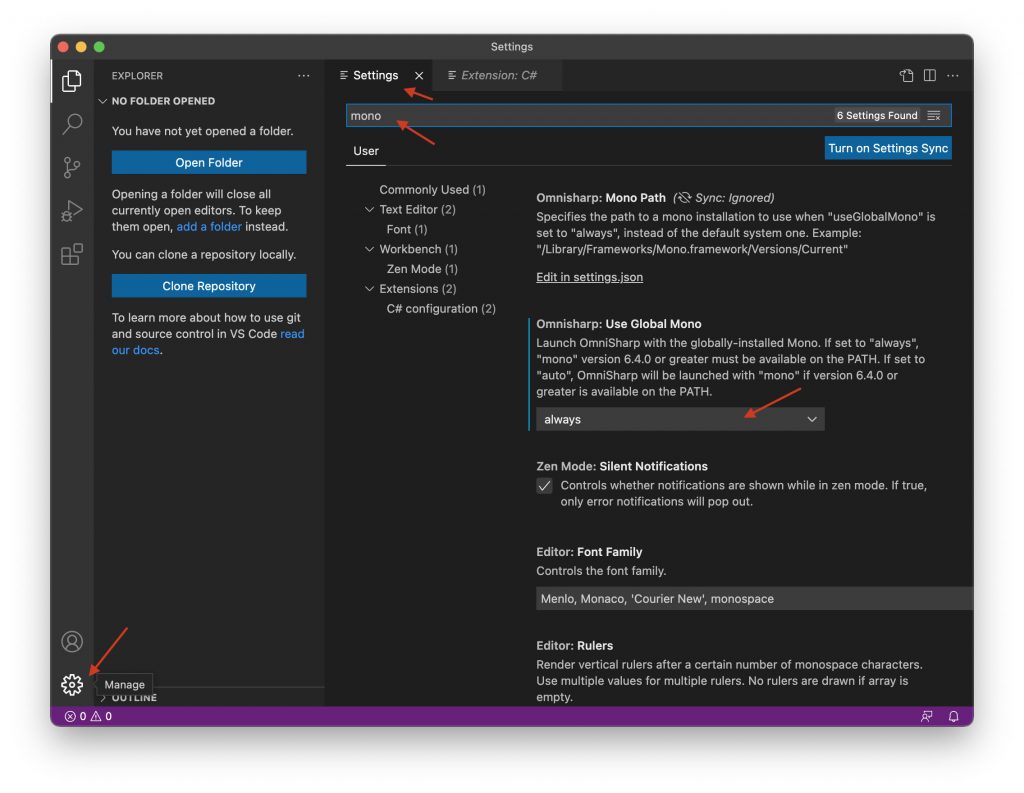
The second step is to change the Omnisharp: Use Global Mono setting to always. It prevent’s you from getting Omnisharp startup exception. It’s important to install visual studio after mono or restart (cmd+q) Visual Studio Code before switching the following option.
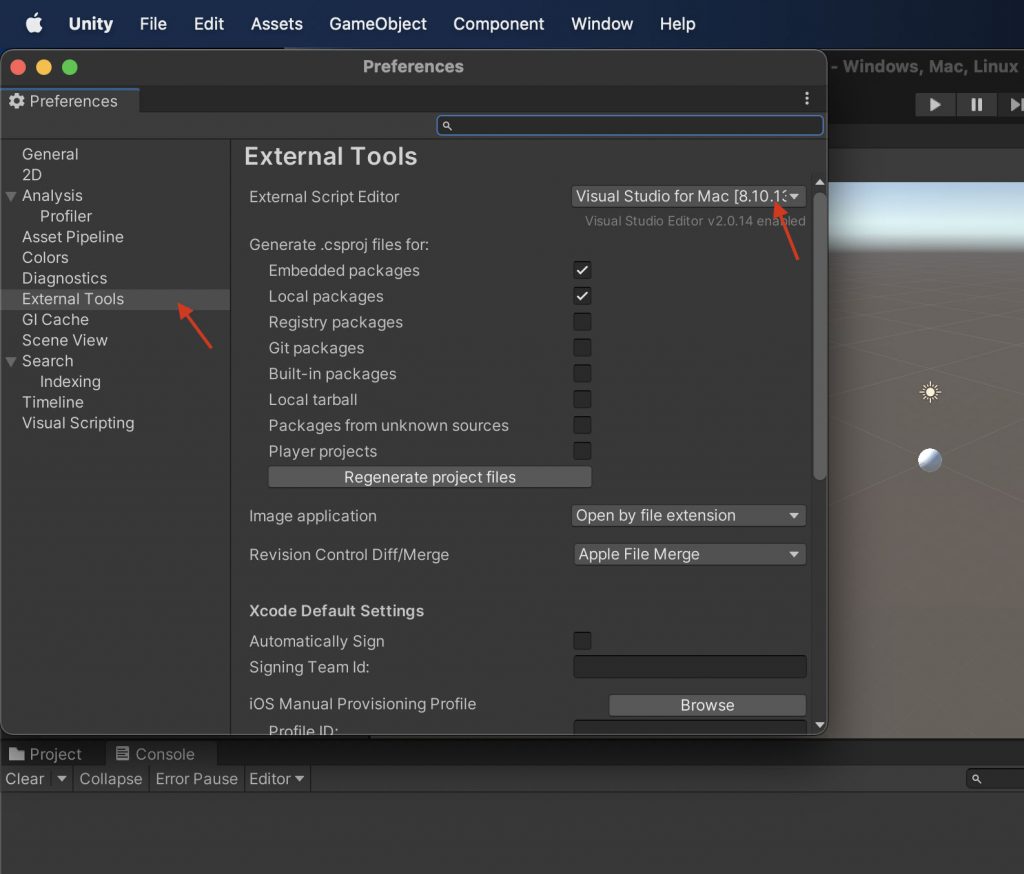
The last step it to change default script editor in Unity from Visual Studio to Visual Studio Code. Open Unity -> Preferences menu and switch External Script Editor to Visual Studio Code.
That’s all what I’ve prepared for you in this tutorial, if I helped you, please consider sharing this post to help me gain a wider audience.
Thanks and I hope to see you in my next tutorial.